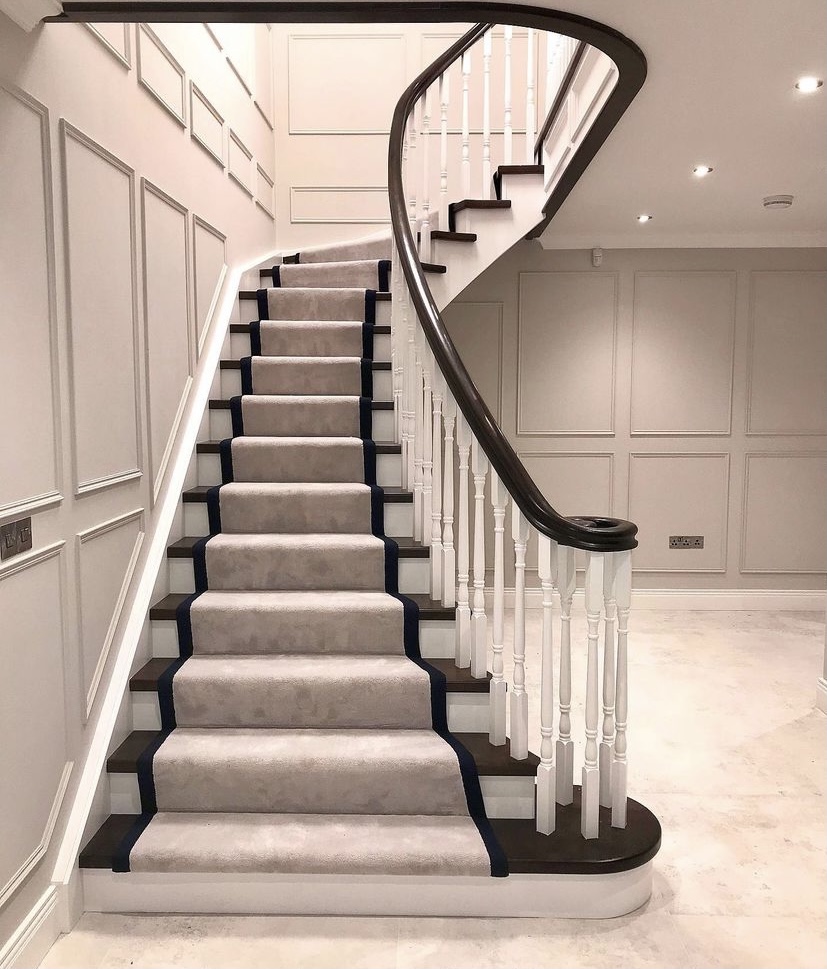
How to Install Stair Carpet: A Step-by-Step Guide
- Get link
- X
- Other Apps
Installing carpet on stairs is a great way to add warmth, style, and safety to your home. Whether you're updating an old staircase or adding a soft, slip-resistant surface, carpeting your stairs can make a significant difference. While it might seem tricky, with the right tools and some patience, you can easily tackle this home improvement project on your own. Here's a simple, step-by-step guide to help you install stair carpet like a pro.
Tools and Materials You'll Need:
-
Carpet (measured to cover all stairs)
-
Carpet padding (optional, but recommended for added comfort)
-
Tack strips
-
Carpet adhesive (or double-sided carpet tape)
-
Staple gun or carpet tacks
-
Carpet knife or utility knife
-
Measuring tape
-
Carpet stretcher (optional)
-
Hammer
-
Pry bar (for removing old carpet, if necessary)
Step 1: Measure and Prepare the Stairs
Before you begin, you need to measure each step to ensure you have enough carpet to cover the entire surface. Each stair tread (the part you step on) and riser (the vertical part between steps) should be measured individually, as stairs can vary in size.
-
Measure the width of your stairs: Take the width of each stair, and make sure your carpet is wide enough to cover it comfortably.
-
Measure the length of each tread and riser: Measure the length of the tread (horizontal part) and the height of the riser (vertical part). Multiply the total number of treads and risers by their respective measurements to get the amount of carpet you'll need.
Step 2: Remove Any Old Carpet (If Necessary)
If your stairs are already covered with carpet, start by removing it. Use a pry bar and hammer to pull up the old carpet, and then remove the tack strips (the strips that hold the carpet in place). Be sure to remove any old staples or nails that might be sticking up from the stair surface.
Step 3: Install Tack Strips
Tack strips are essential for securing the carpet to the stairs. These strips have sharp tacks that grip the carpet, keeping it in place.
-
Place the tack strips: Starting at the bottom of your stairs, position the tack strip along the edge of the stair tread (the horizontal surface). Leave a small gap from the edge of the stair, ensuring it’s not right against the wall.
-
Secure the strips: Hammer the tack strips into place, making sure they’re firmly attached to each tread and riser. Repeat for each step.
Step 4: Lay Down the Carpet Padding (Optional)
While optional, carpet padding adds extra comfort and noise reduction, making your stairs feel softer and more durable.
-
Cut the padding: Use your utility knife to cut the padding into strips that fit the width and length of your stairs.
-
Staple or glue the padding: Lay the padding across each tread and riser, and use a staple gun or carpet adhesive to secure it in place. Be sure to stretch the padding tightly to avoid wrinkles.
Step 5: Cut and Place the Carpet
Now comes the fun part — laying the carpet!
-
Cut your carpet: Using your measurements, cut your carpet into strips that will fit the tread and riser of each step. Leave a little extra on each edge to ensure you have enough to stretch and staple later.
-
Align the carpet: Start at the bottom of the stairs and position your carpet on the first step. Make sure the carpet is centered and covers the entire surface, with a little excess at the edges.
-
Staple the carpet: Begin by stapling the carpet to the back of the tread, using a staple gun. Stretch the carpet as you go along to avoid wrinkles, and staple along the edges. Repeat for each step.
Step 6: Stretch and Secure the Carpet
If you're using a carpet stretcher, this is the time to use it. A carpet stretcher helps ensure that the carpet is tightly stretched, reducing wrinkles and sagging.
-
Stretch the carpet: Starting at the bottom of the stairs, use the stretcher to pull the carpet tightly across the tread and riser. Work your way up the stairs, stretching and stapling the carpet securely.
-
Trim excess carpet: Once the carpet is stretched and stapled, trim any excess carpet along the edges using your utility knife. Be careful not to cut too much — leave a little extra for a clean edge.
Step 7: Install the Carpet on the Risers
For the vertical part of the stairs (the risers), repeat the same process.
-
Cut the carpet to the height of each riser.
-
Staple the carpet to the riser, ensuring it’s tight and wrinkle-free.
-
Trim the edges for a neat finish.
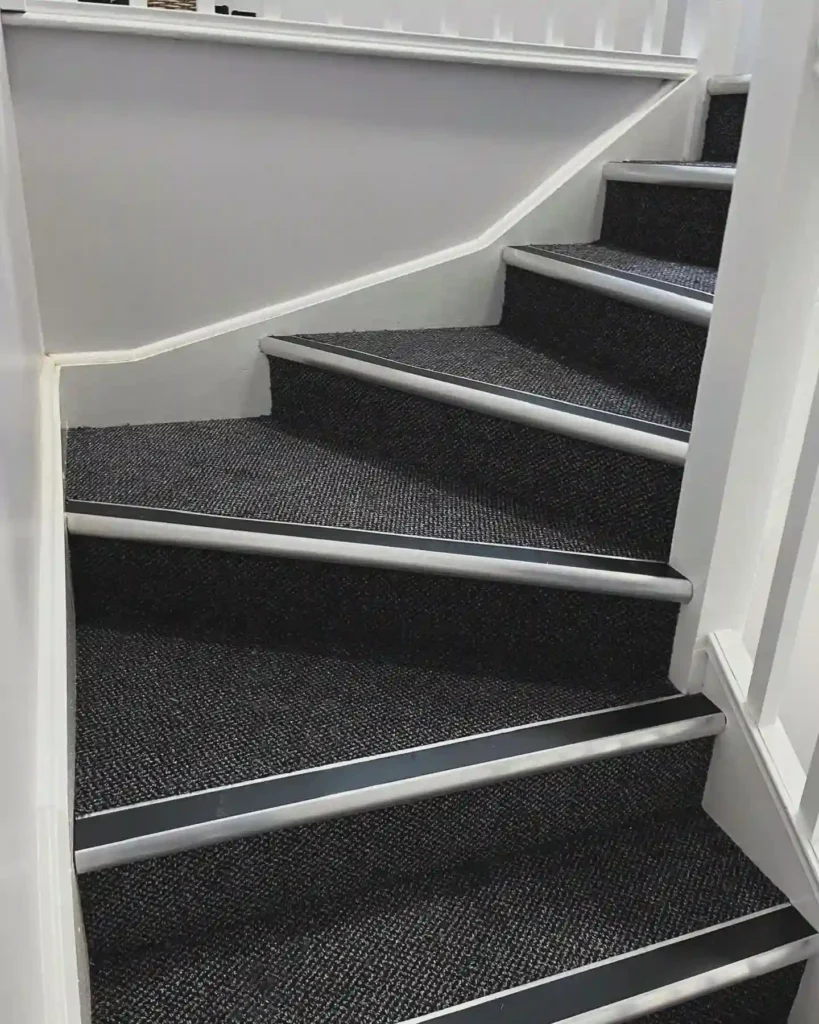
Step 8: Finishing Touches
After securing the carpet to each stair, check for any loose areas or wrinkles. Make sure the edges are clean and tucked in neatly, especially along the corners.
If necessary, use a hammer and a tack strip to add any additional tension or to ensure a smooth finish around the edges.
Step 9: Enjoy Your New Stair Carpet!
Now that your carpet is securely installed, step back and admire your work. Not only do your stairs look great, but they also feel much safer and more comfortable to walk on.
Final Tips:
-
Safety first: Always wear protective gear, such as gloves and goggles, when working with tools.
-
Work with a helper: Having an extra set of hands can make the job easier, especially when stretching and stapling the carpet.
-
Choose the right carpet: Make sure the carpet you select is durable and designed for high-traffic areas like stairs.
Installing stair carpet may take a bit of time and effort, but the results are well worth it. Whether you're adding a pop of color, improving safety, or simply enhancing the aesthetic of your home, your newly carpeted stairs will look and feel fantastic!
- Get link
- X
- Other Apps

Comments
Post a Comment